3D printing and 3D scanning
There are two type of 3D printing at Harvard. One is by melting filament, another is by exposing photo-sensitive resin to UV light. After using both kind for a while I started to know what each printer is good for. The UV printing has a better resolusion than the filament kind and it's able to print transparent. Also the result printing is a bit flexible and can be sanded or polished easily. Due to the high resolution, it's good for printing small fine parts. However, it's more annoying to use as the resin can mess your hand and the desk also finished print need to be cleaned and cured. And I found the result print is not as hard and rigid as the filament print. Also because the already printed part is not totally hardened in the middle of printing, some thin part deforms as the printing going, result in a not perfect shape. The filament print on the other hand, is easier to deal with and the printed part is mechanically strong. But it has the disadvantages of worse resolution and printed part is very hard to sand. Last, the most important thing I learned from the experience is the designing and placement of support. I will go through my experience in detail.
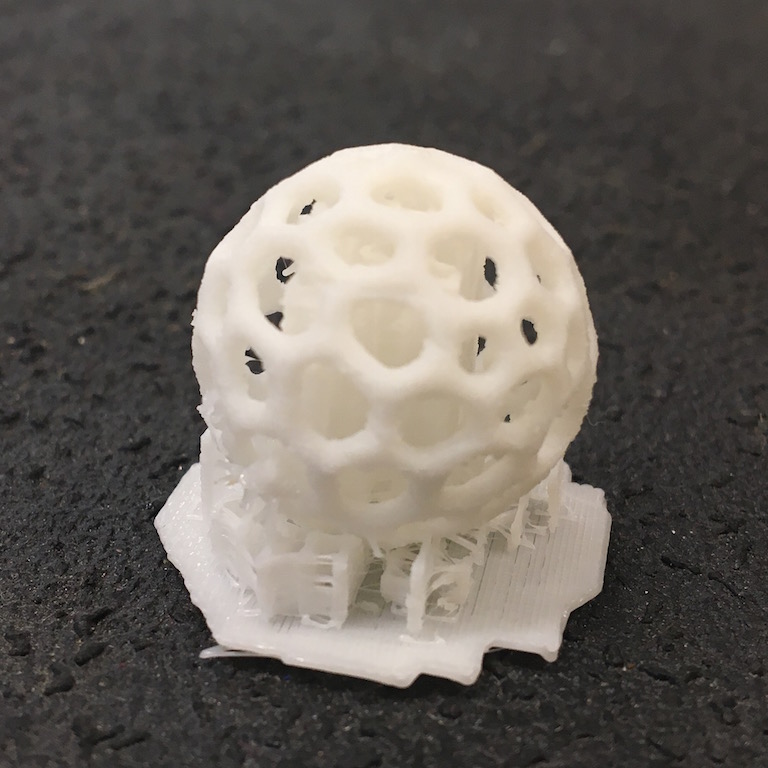
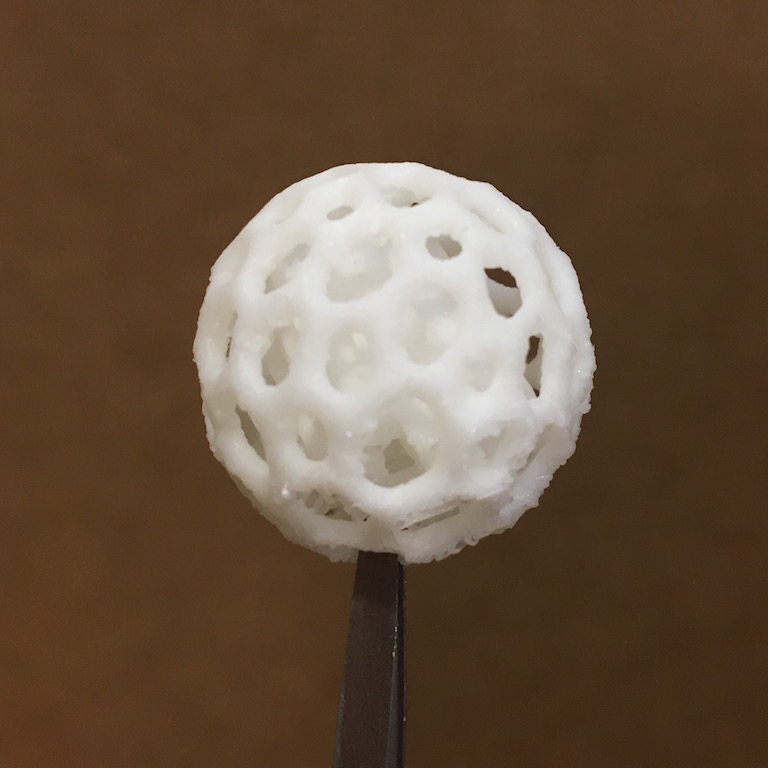
Test prining
First I designed a sphere skeleton with meshmixer and wanted to make a structure with one sphere inside another. And started my first print without much idea about the support. I generated support automatically by the computer and I found the support inside the sphere impossible to remove after the printing is done. This start make me realise the importance of placing support correctly. We should use the least support structure while still making sure it doesn't print in the middle of air which make make the filament dripping down. First thing we can do is to rotate the design so that ideally everything can just rest on previous printed part so reduce amount of support. Also we can customize the support point in the software to eliminated unnecessary support points while adding missed ones. The general rule checking if there is any plane or lines that has no structure directly beneath it in which case support need to be added.
Einstein Rosen Bridge
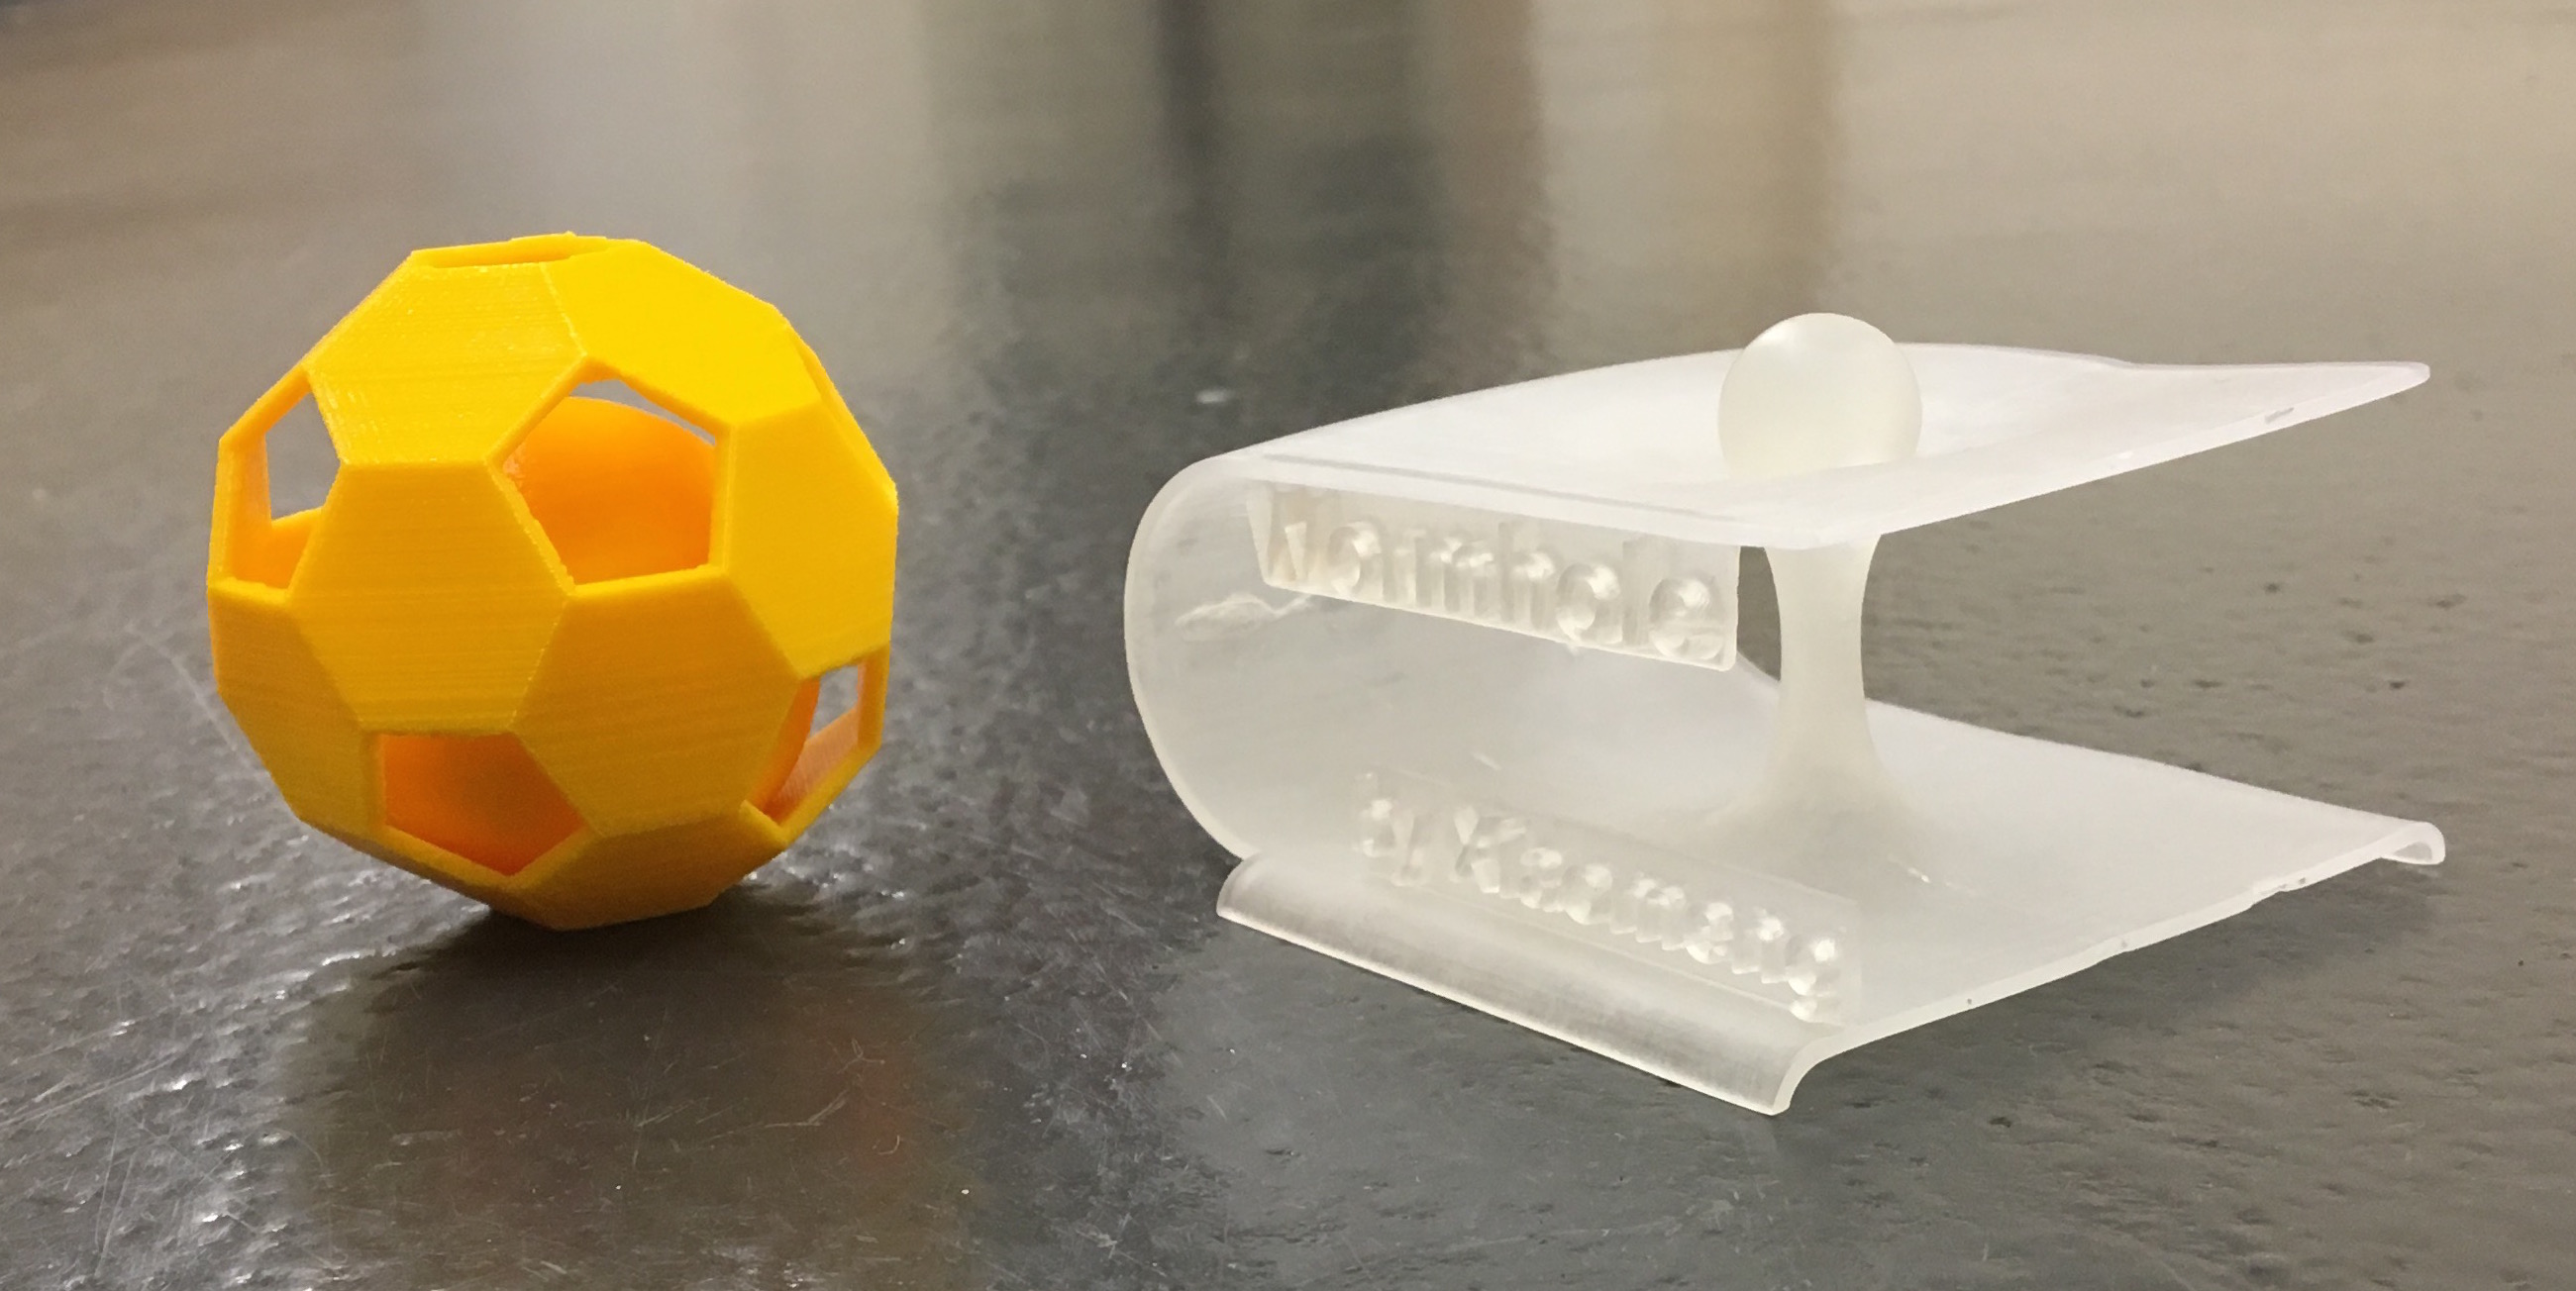
Then I had this idea of printing a illustration of Einstein Rosen bridge, which also known as wormhole. It is a connection between two far seperated space-time by bending the space itself with a large mass object like a blackhole. I modeled this in Fusion 360 and added the texted as well. Because I want to print it in clear color, I decided to go with the UV printer. After printing, I rinsed in IPA for about 10mins, then I leaved under UV lamp to cure over night.The next day I found the part is well-hardened, and I removed the support and sanded it. The result is relatively satisfying. At last I wanted to print a small ball to represent a star or blackhole which generated the curly space-time. However, when I tried to do that another day, the print doesn't stick with the build plate, instead there is a thin layer stayed at the bottom of resin container. Later on I cleaned the build plate and lowered the base thickness in the fine tuning setting and tried few times, finally got it to print.

Buckyball with sphere inside
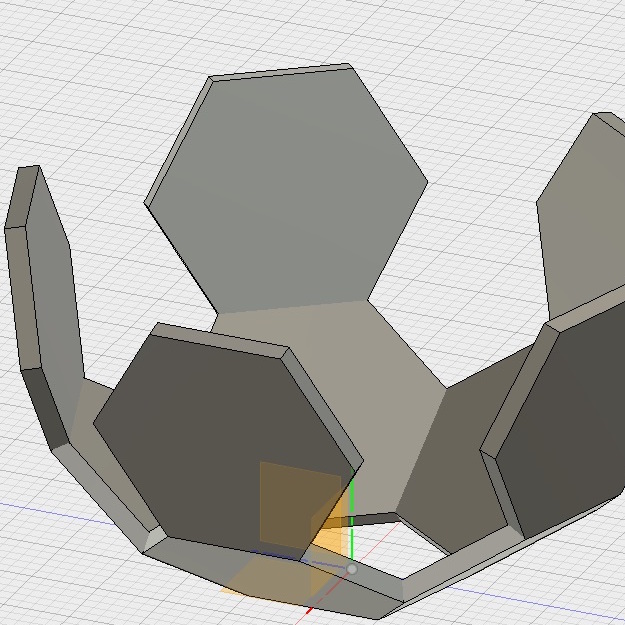
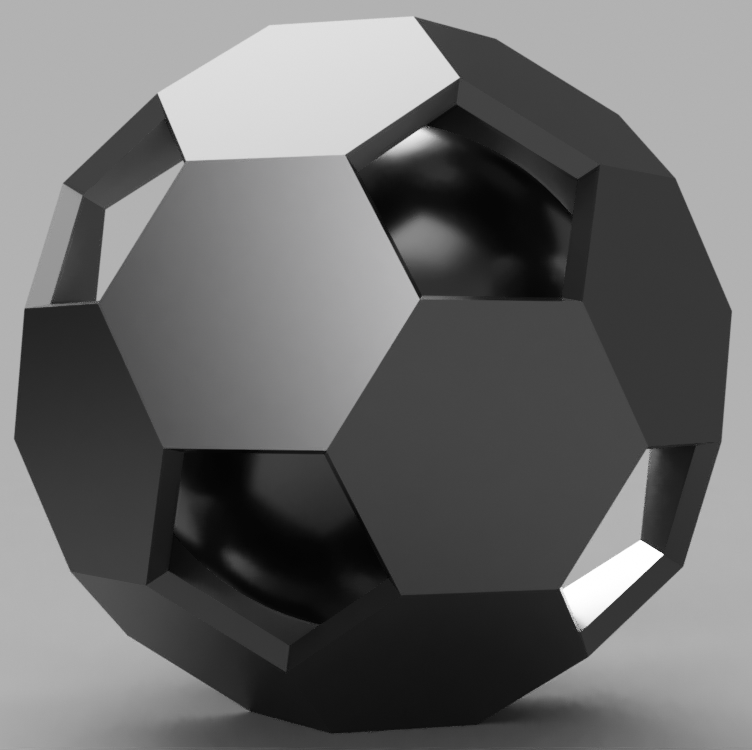
The wormhole is a nice application of 3D printing as would be difficult for subtractive machining to do but not impossible. So I decide to make something that is only possible by 3D printing. So I designed a C60 (bucky ball) with a ball in it. It could represent a C60 molecule carrier some other molecule inside its cavity. I chose that print orientation so there is no support directly connect the ball and the shell so after removing the bottom support the ball can freely move inside the truncated icosahedron. I designed the structure in Fusion 360 by placing two plate in the right angle and use symmetry to generate the rest of the faces.
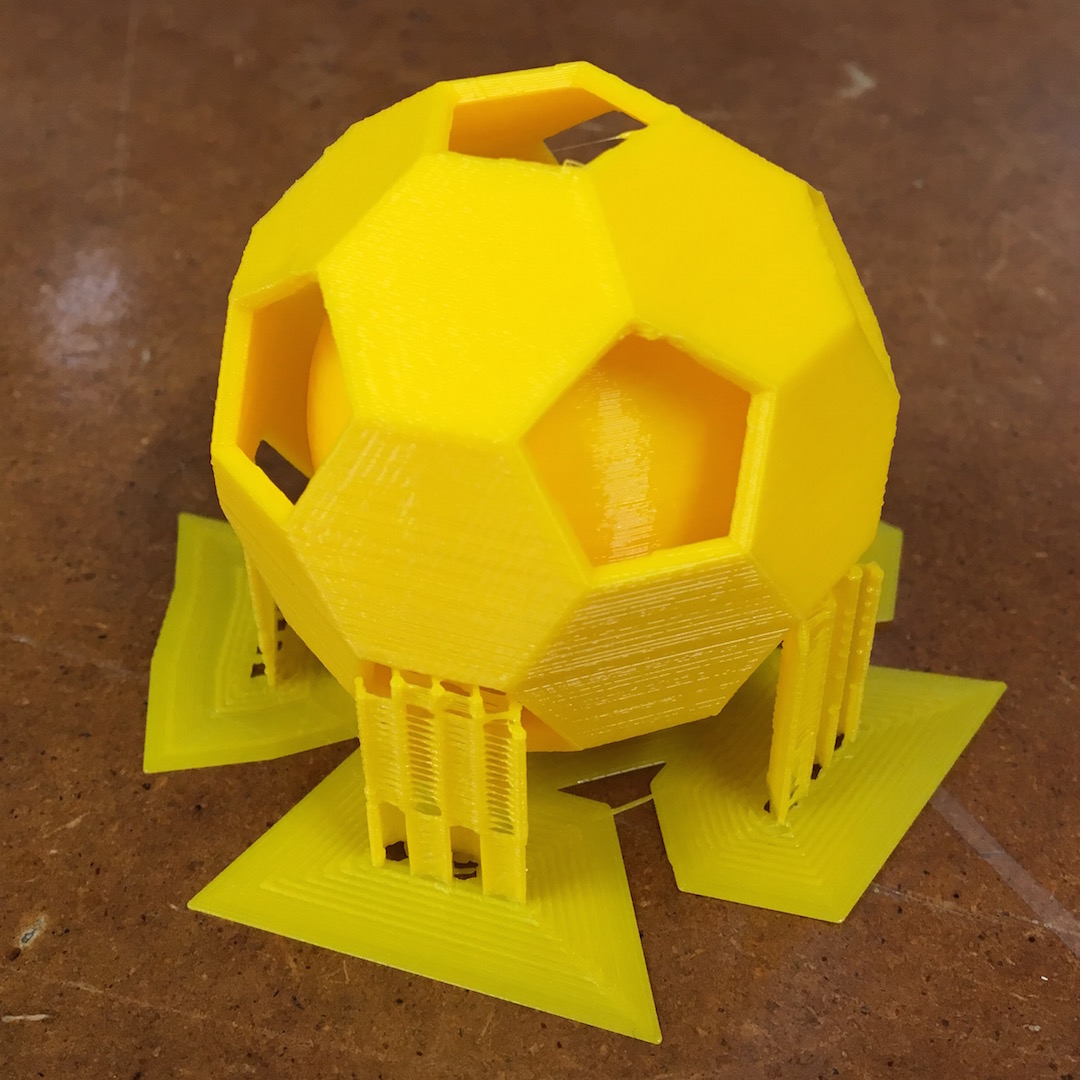
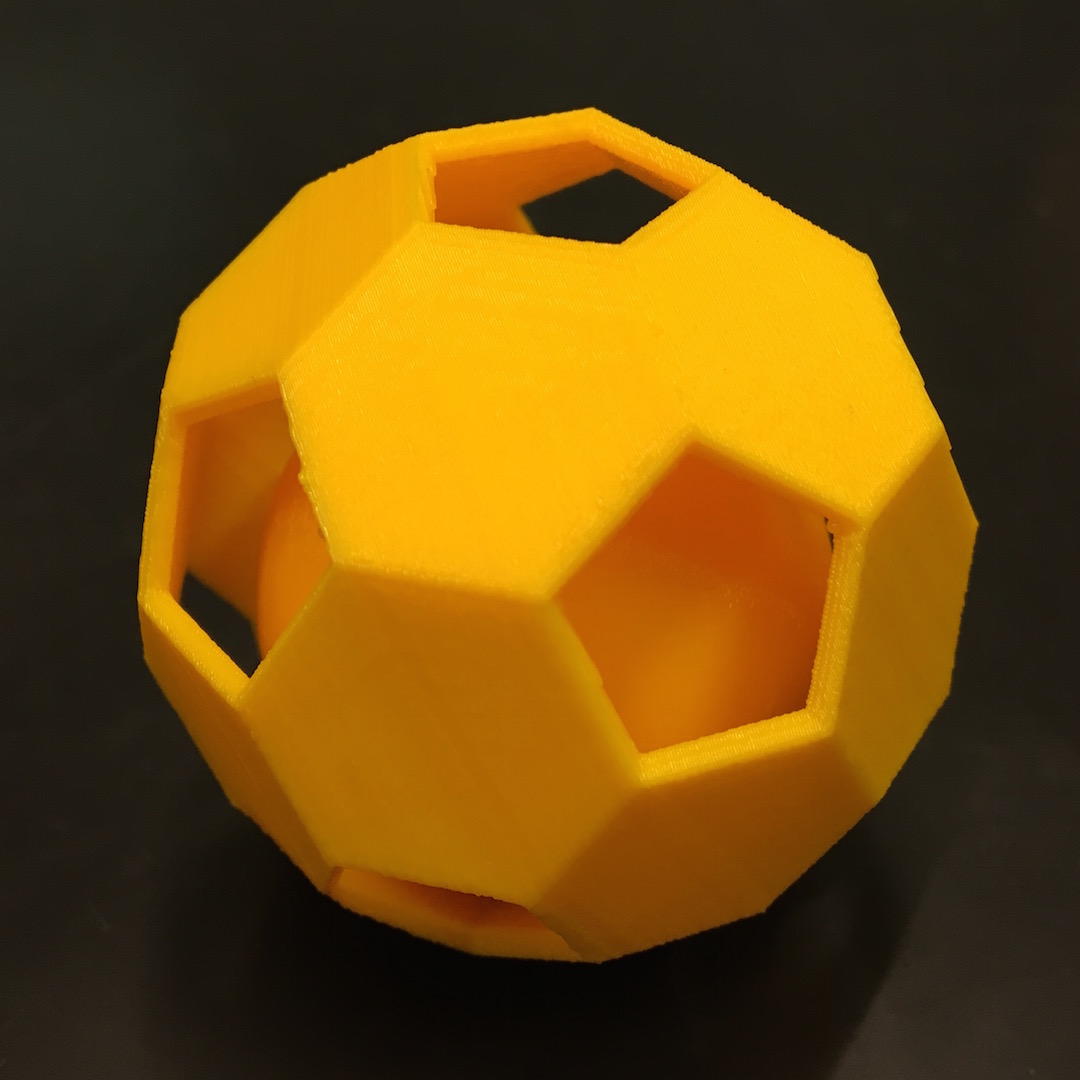
I printed this one with the filament printer and the result is great. Because of the carefully design, support was really easy to remove. When doing this print I also learned how to change filament.
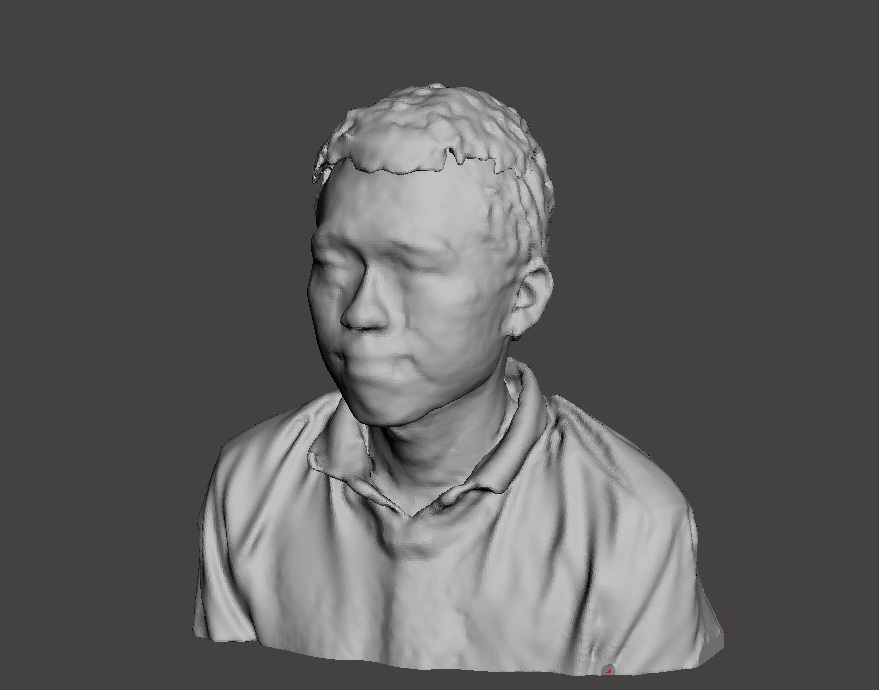
3D scanning
The 3D scanning is rather straight forward, I did a scan on myself. There are few tips though: try to stay exactly same posture during the scan, and better to have some click the start and stop button for you; also use the right distance, the best distance is quite close to the scanner which the chair just barely rotate. After the scan is done, I opened it with meshmixer, and fixed few problem in the scan, like a cavity in the hair. Meshmixer is actually a very good tool to deal with it, you can smooth, push in or drag out certain parts.